

Multi-Module Run
Anteater is a versatile tool that can be integrated into multi-module projects, providing powerful capabilities for managing and automating workflows across multiple sub-projects. Whether you choose to run Anteater as a Maven plugin or as a standalone application, it offers the flexibility to adapt to your project’s structure and requirements.
Ways to Run Anteater
1. Maven Plugin:
This method is ideal for projects with Maven-based builds. It simplifies integration by allowing you to run Anteater directly within multi-module projects where sub-projects are managed as Maven modules. This approach ensures seamless execution and minimal configuration within the Maven ecosystem.
You can run Anteater directly from the root folder of your parent project using Maven. This approach does not require a pom.xml file in the parent directory, making it quick and easy to execute.
Command:
mvn com.ganteater:ae-maven-plugin:run
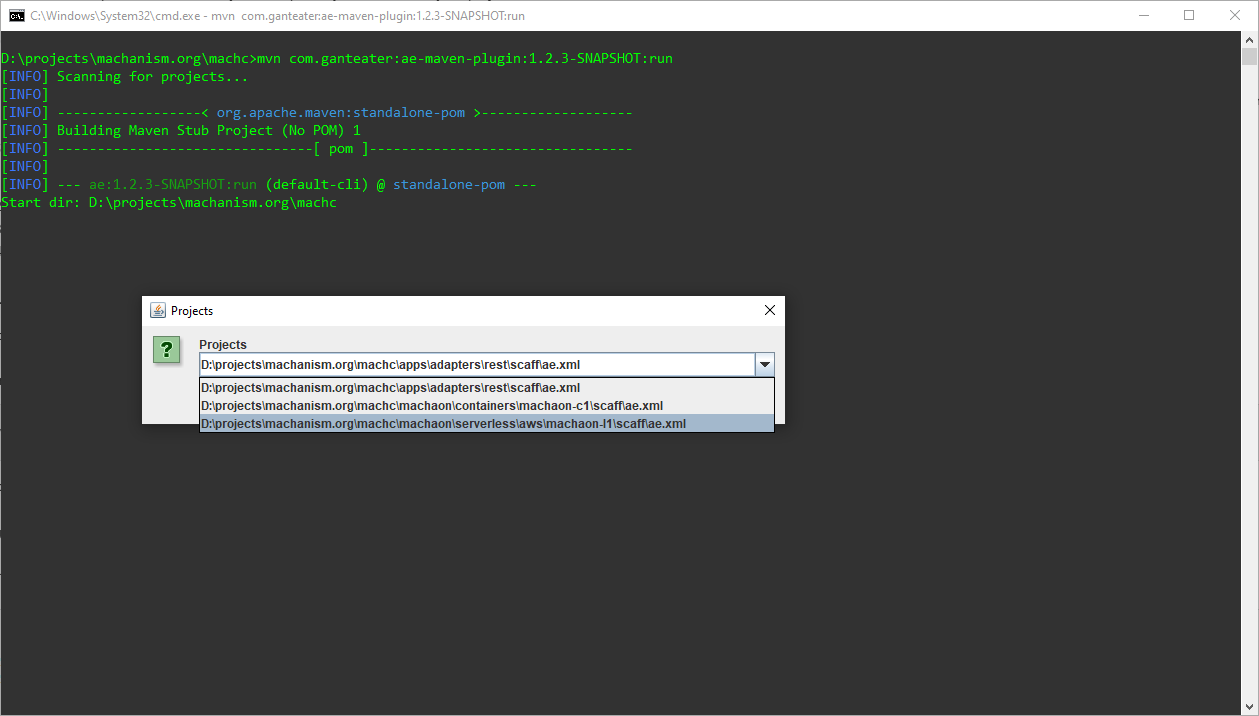
This command executes Anteater in the parent project, allowing you to manage and automate workflows across sub-projects efficiently.
For more information about the Maven plugin, you can visit: Maven Plugin
2. Standalone Application:
If your project is not Maven-based or you prefer to run Anteater independently of your build system, the standalone application is a better fit. This method provides greater flexibility for custom workflows and allows you to configure Anteater in a way that suits your specific environment.
By offering these two approaches, Anteater ensures that you can manage your multi-module projects efficiently, regardless of your build system or workflow preferences.
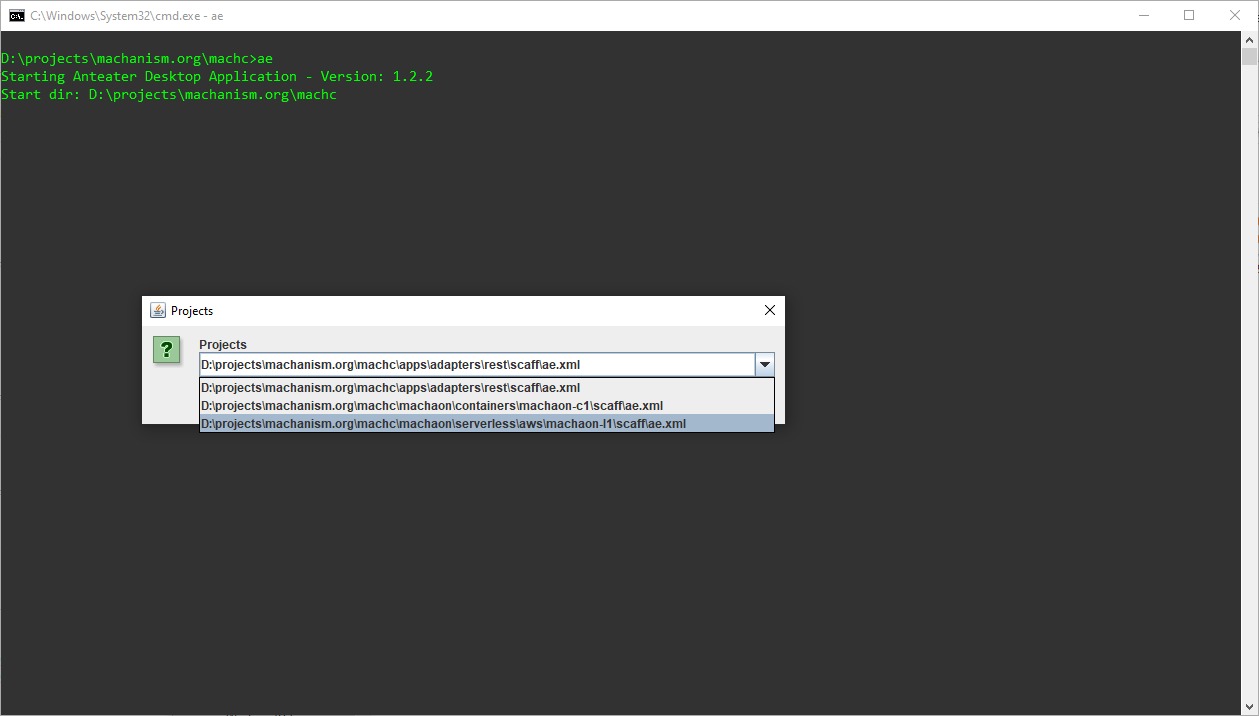
If you prefer to use Anteater as a standalone application, you’ll need to set it up in your home directory ($USER_HOME/anteater) and configure your environment accordingly.
Steps to Set Up Anteater:
-
Download Anteater Application (see.: “Short Cut”):
Obtain the Anteater application and place it in the%HOMEPATH%/anteaterdirectory (Windows) or$HOME/anteaterdirectory (Linux/Mac). -
Download Required Plugins:
Download all necessary plugins for your project and place them in thepluginsfolder within the%HOMEPATH%/anteaterdirectory. -
Create a Batch File (Windows):
Create a.batfile in the Anteater directory to simplify execution.
Example batch file content:@echo off rem Set the classpath to include the Anteater JAR and all plugins java -cp "%~dp0/anteater.jar;%~dp0/plugins/*.jar" com.ganteater.ae.desktop.Anteater
If sub-modules in your parent project contain Anteater Maven projects, you must specify the Maven home parameter: -Dmaven.home=<maven/home/path>.
This ensures that the correct Maven installation is used during execution.
-
Update PATH Environment Variable (Windows):
-
Add the Anteater directory to your
PATHenvironment variable to allow Anteater to be run from anywhere in the terminal. -
Steps:
- Go to System Properties → Environment Variables.
- Add
%USER_HOME%\anteaterto thePATH.
-
-
For Other Operating Systems:
Perform similar actions to set up Anteater:- Place the application in
$USER_HOME/anteater. - Create an executable script (e.g.,
.shfile) for launching Anteater. - Add the Anteater directory to your
PATHenvironment variable.
- Place the application in
Limitations
When using Anteater in a Parent-Level Run, certain limitations may apply depending on the version of Anteater and the project structure.
This Anteater version does not support running Maven-based projects with the ae:do command for maven sub-projects. In this case you should this manually:
- Navigate to the directory containing the
pom.xmlfile. - Run the required Maven command, such as:
mvn ae:run